Mastering the Art of Eye Trimming: A Guide for Professional Dog Groomers
Learn the essential techniques and tools for mastering the art of eye trimming as dog groomer

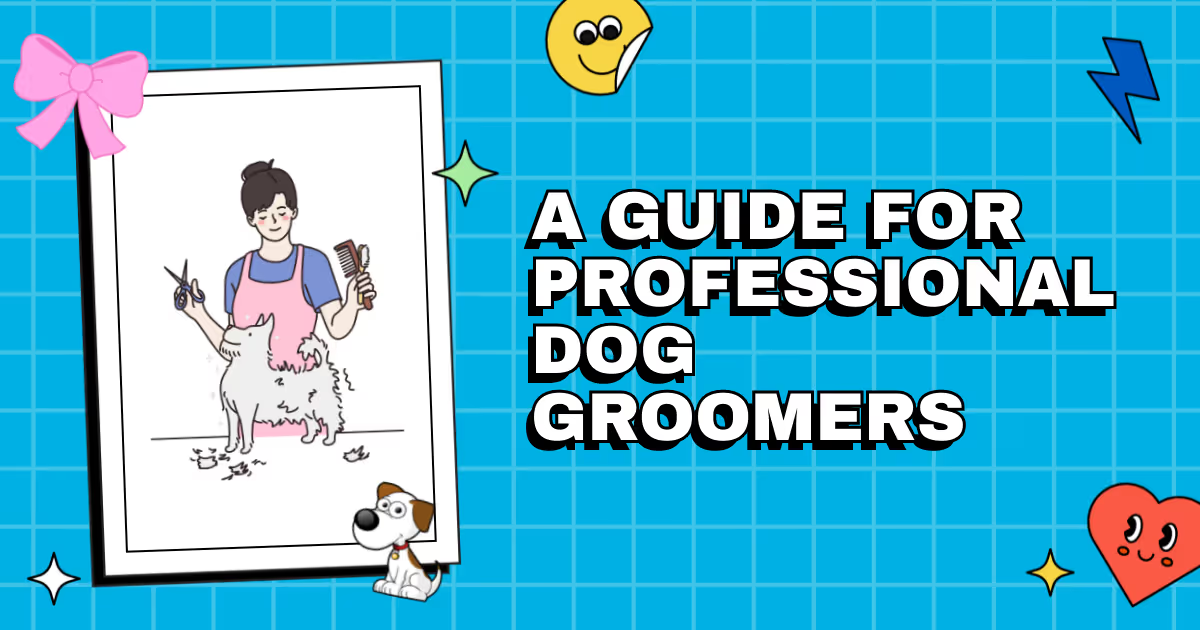
Mastering the Art of Eye Trimming: A Guide for Professional Dog Groomers
The Importance of Proper Eye Trimming
As professional dog groomers, we know that a well-groomed dog is not only pleasing to the eye but also vital for their overall health and well-being. One area that needs extra attention is eye trimming. Properly trimming a dog's eyes not only helps to maintain a neat and tidy appearance, but it also prevents discomfort, eye infections, and potential vision problems.
Understanding the Anatomy of a Dog's Eye
Before diving into the art of trimming, it's important to understand the anatomy of a dog's eye. Knowing the different parts will help you navigate the process with ease. The main components of a dog's eye include:
Basic Tools for Eye Trimming
As a professional groomer, it's crucial to have the right tools for the job. Here are the basic tools you'll need for eye trimming:
Step-by-Step Guide for Eye Trimming
Step 1: Preparing the Dog
Start by ensuring that the dog is calm and relaxed. Gently stroke the dog, speak softly, and provide small treats to create a positive grooming experience. It's crucial to be patient and not rush through the process.
Step 2: Cleaning the Eye Area
Using the eye wipes, clean the dog's eye area to remove any dirt or discharge. This step not only ensures hygiene but also helps you see clearly and identify any potential problems.
Step 3: Holding the Hair
Using the fine-toothed comb, gently lift and hold the excess hair away from the eyes. This allows you to have a clear view of the area you'll be trimming and prevents unnecessary tugging on the dog's skin.
Step 4: Trimming the Hair
Using round-tipped scissors, carefully trim the hair that obstructs the dog's vision or irritates the eyes. Start from the center and work outward in small, precise cuts. Remember to take breaks, assess your progress, and adjust as needed to achieve a balanced and symmetrical result.
Step 5: Blending and Finishing
Using thinning shears, blend the newly trimmed hair with the rest of the face, ensuring a natural and seamless transition. Be cautious and avoid over-thinning, which may make the hair look sparse or uneven.
Step 6: Final Checks and Aftercare
Once you're satisfied with the trim, inspect the eye area, making sure there are no stray hairs that could potentially cause irritation. Apply a small amount of canine-safe eye ointment to soothe any potential redness or dryness caused by the trimming process.
Common Challenges and Tips
Eye trimming can present some challenges, but with practice and expertise, you can overcome them. Here are a few common challenges and tips to help you on your way:
Practice Makes Perfect
Mastering the art of eye trimming takes time and practice. Each dog presents a unique challenge, and understanding their individual needs is essential. Don't shy away from seeking additional training or attending workshops to enhance your skills.
With dedication and a keen eye for detail, you'll become an expert at eye trimming, providing impeccable grooming services that keep both dogs and their owners happy!




























.avif)






























.avif)


